
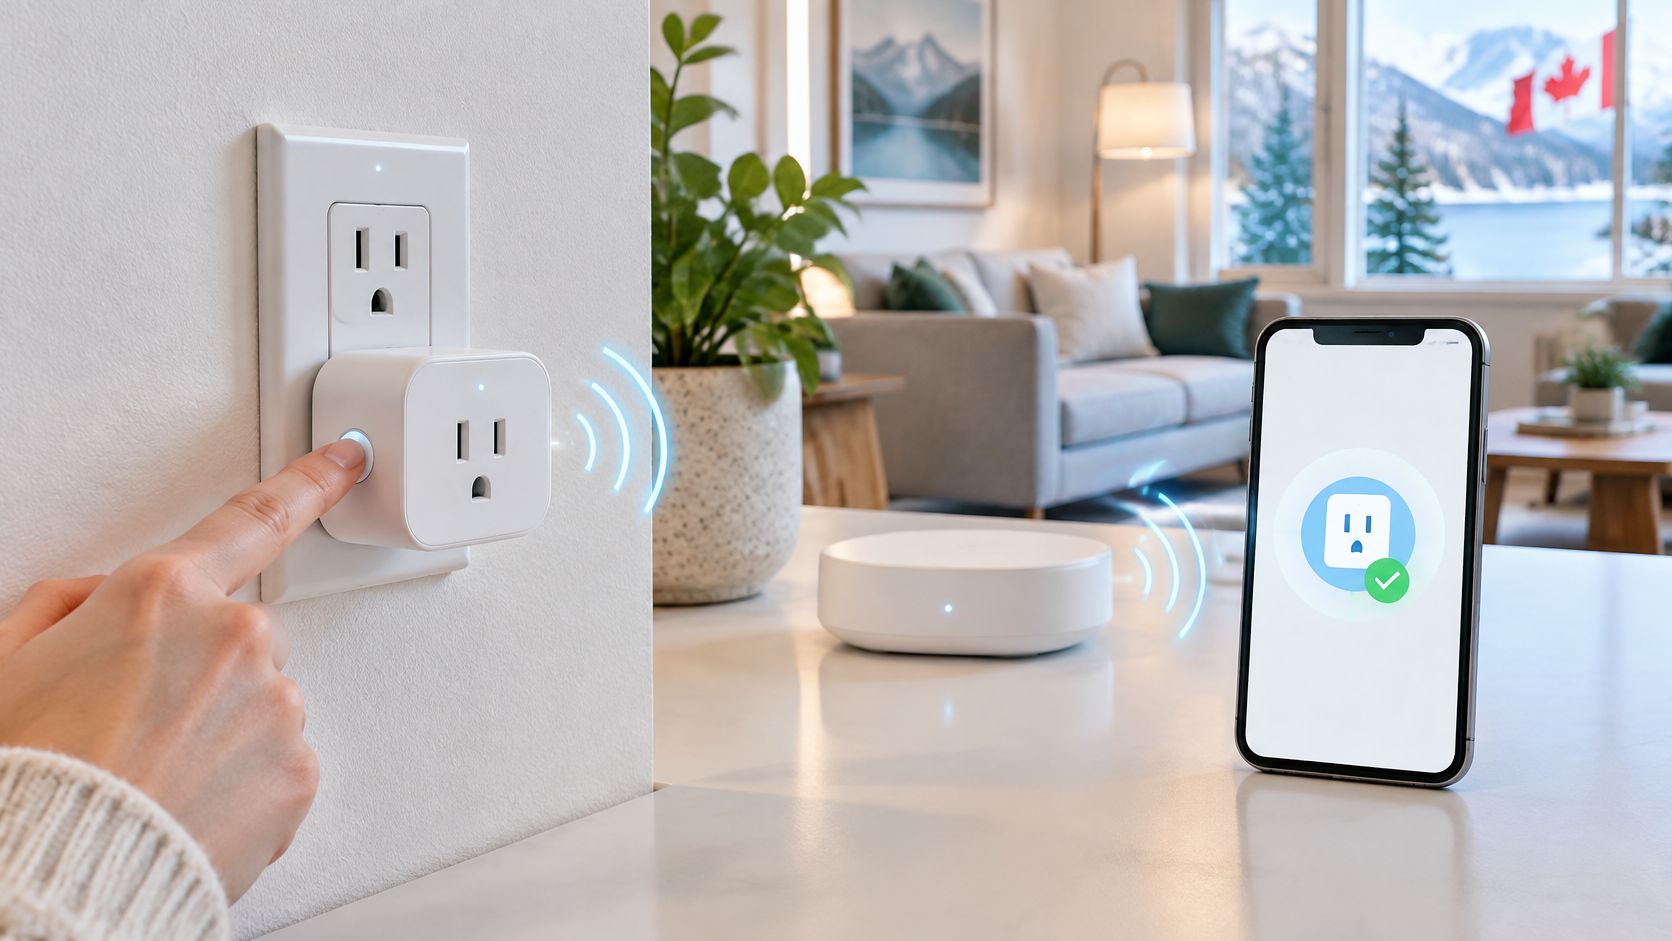
You've got a plug in your hand, a hub app open on your phone, and a blinking light that won't settle. The plug may appear for a second, disappear, or join and then refuse every command from the next room. That pattern sends plenty of good plugs back to the store.
Most Zigbee smart plug setup failures aren't caused by a defective plug. They're caused by a hub that doesn't fully support that model, a join attempted from too far away, or a final outlet that gives the plug a weak route back to the coordinator. Get the compatibility and placement right first, and the pairing routine itself is short, repeatable, and dull in the best way.
Table of Contents
- Check Hub Compatibility Before You Buy a Plug
- How to Pair a Zigbee Plug Step by Step
- Secure the Network and Check Load Ratings
- Placing Plugs and Fixing Failures
- Pick the Right Plug for Your Canadian Hub
Check Hub Compatibility Before You Buy a Plug
A plug that works on a friend's hub can sit dead in your app. Compatibility comes down to the specific hub you own, its firmware, and the platform it feeds, not the word Zigbee on the box. Statistics Canada's smart-home device table reports that, in 2022, 47.4% of Canadians used at least one Internet-connected smart-home device in their primary residence, while 13.8% used smart plugs or smart lights. That means you're likely adding a plug to a speaker, thermostat, or camera setup that already works, and you need the new part to fit it. If you're still weighing protocols, our comparison of Zigbee and Wi-Fi for the smart home covers that choice directly.
Common Zigbee hubs and what to check before pairing
| Hub or coordinator | Zigbee role | How a plug is added | Watch for |
|---|---|---|---|
| SmartThings Hub | Built-in Zigbee hub | Add device, choose Zigbee, plug in close to hub | Confirm the plug has a SmartThings device handler or Zigbee 3.0 support |
| Hubitat Elevation | Built-in Zigbee radio | Add Device, Zigbee pairing mode | Some brands need a specific driver before features work |
| Aqara Hub | Zigbee hub from the same brand | Aqara app device add | HomeKit support requires an Aqara Hub for the Aqara plug |
| Home Assistant with USB coordinator | Zigbee coordinator stick | Permit join in ZHA or Zigbee2MQTT | Coordinator placement and USB 3 interference affect joins |
Radio Compatibility Isn't Platform Integration
That distinction is the one most listings blur. A plug can join your Zigbee network and still not show energy monitoring, power-on behaviour, or voice control in the app you use. The Aqara smart plug manual states that its plug requires an Aqara Hub for HomeKit support, which matters if you expected Apple Home to work through SmartThings, Hubitat, Alexa, or Home Assistant instead. Many Canadian households already run a mix of brands and voice assistants, so a mismatched ecosystem is the common case, not an edge case.
Echo models with built-in Zigbee sit in the same trap. They'll often switch a basic plug on and off, but they give you less control over drivers, reporting, and network repair than Hubitat or Home Assistant does.
Practical rule: Buy for the hub and platform you own today, not for the word Zigbee on the box.
Three Checks Before You Pay
- Profile support: Confirm the hub supports Zigbee 3.0 or the brand's listed profile for that exact model.
- Platform support: Confirm HomeKit, Alexa, Google, or Home Assistant support for that plug on your hub, not just in general.
- Canadian rating: Confirm the plug's Canadian voltage and current rating, plug format, and certification record before ordering an imported variant.
If you later replace or factory reset the hub, expect to re-pair plugs unless your platform restores a proper network backup. Write down each plug's room, load, and reset method now. You'll thank yourself when you're rebuilding the network instead of guessing which button hold works on which model.
How to Pair a Zigbee Plug Step by Step
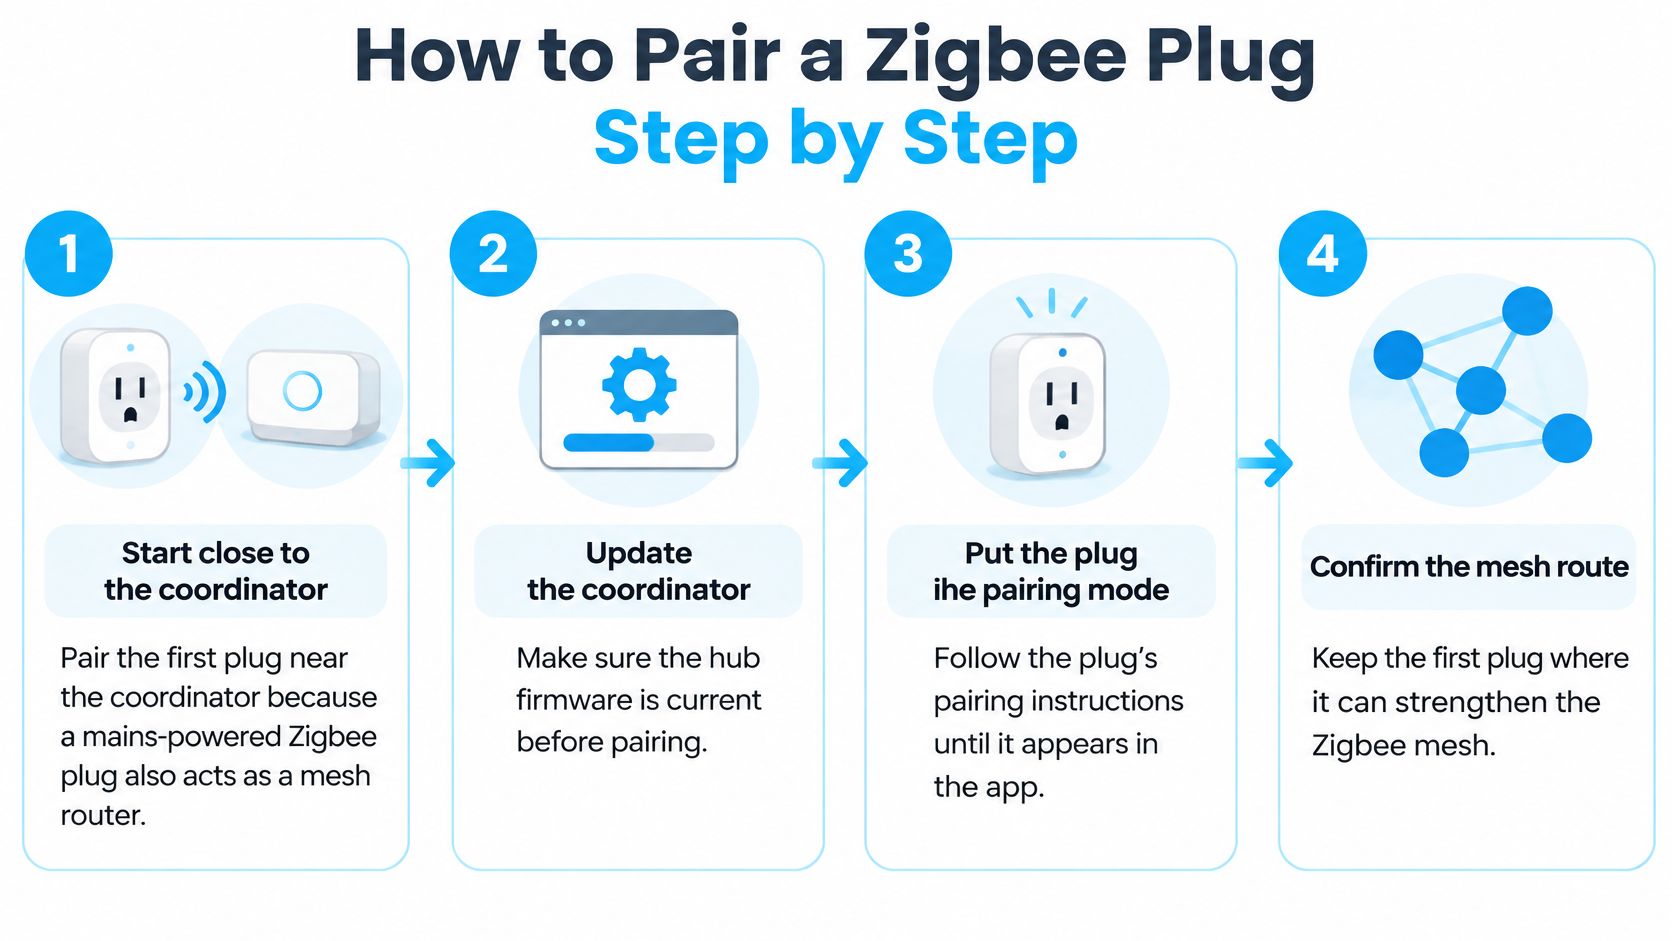
Pair the first plug close to the coordinator, even if its permanent job is in the basement. A mains-powered Zigbee plug usually acts as a mesh router, so that first device becomes part of the path other devices use. The Silicon Labs Zigbee fundamentals overview notes that Zigbee operates at 2.4 GHz globally, with an IEEE 802.15.4 physical-layer rate of 250 kbps, and interoperability is strongest when hub and plug are Zigbee 3.0 or carry Connectivity Standards Alliance certification. For Canada, buy Canadian-market hardware that satisfies applicable ISED requirements, including RSS standards, rather than an incompatible regional variant.
The visual below condenses the routine into four moves, from close pairing to confirming the mesh route.
The Pairing Routine
- Update the hub firmware first, then check for plug updates in its app. Old coordinator firmware causes odd interview failures that look like plug faults. Do the update before you open the join window, not during it.
- Place the plug within roughly 1 to 3 m of the coordinator. Close pairing gives the join and interview a clean signal. Distance during commissioning is the easiest variable to control, so control it.
- Put the plug into factory-pairing mode, usually by holding its button until the light blinks. Use the exact hold time in the manual for your model. A half reset leaves the plug loyal to an old network and invisible to the new one.
- Start Add Device on the hub and select Zigbee. In Home Assistant that's permit join in ZHA or Zigbee2MQTT, in SmartThings it's Add device, and in Hubitat it's Add Device with Zigbee pairing mode. Start the hub side only when the plug is already blinking.
- Wait for the device interview to finish. Don't unplug it the moment a name appears. The interview is where the hub learns what the plug can do, and interrupting it leaves you with a plug that shows up but never reports state properly.
- Rename it by room and load, then test on and off from the hub. A name like Kitchen Kettle beats Smart Plug 4 when you're fixing an automation later. Toggle it several times and watch the reported state change each time.
- Move it to its permanent outlet only after it passes those tests. Then test again in place. If it worked beside the hub and fails at the final outlet, you've learned the problem is location, not pairing.
Don't keep starting joins from a distant room and hoping the fifth try behaves differently. Reset, move close, and remove distance from the diagnosis.
If the First Attempt Fails
Remove the plug from the hub's device list, factory reset it, and retry beside the coordinator. A stale half-joined record can block a clean second attempt. Keep the coordinator away from a Wi-Fi router, USB 3 hub, metal electrical panel, and large appliances, since congestion and shielding at 2.4 GHz cause plenty of failed joins.
A successful pairing looks specific. The plug shows as online, toggles from the app without delay, reports the correct state after you press its physical button, and still reports after a power cycle. Let the network stabilize after that first router plug joins before you add farther devices. I would rather spend ten calm minutes on one solid join than add four plugs quickly and debug all four at once.
Secure the Network and Check Load Ratings
Treat this as network commissioning. The plug joins your hub's Zigbee mesh, and the hub is what sits on your home network, which makes that hub the door into every device it controls. The Connectivity Standards Alliance Zigbee FAQ describes Zigbee security as supporting AES-128 encryption and authentication, with newer Zigbee PRO releases adding Dynamic Link Key enhancements. That protection only helps if your hub firmware is current and you use the normal secure join procedure.
A hardened Zigbee link does little if the Wi-Fi side is wide open. Put the hub on a WPA2-protected network with a unique passphrase, install firmware updates when they ship, and use an isolated IoT or guest segment if your router offers one. A guest segment keeps smart devices and visitors away from the laptops and phones that hold your sensitive accounts, and it costs you nothing beyond a few minutes in the router settings.
Close the Door After Pairing
Turn off permit join when you're done. An open join window invites any nearby Zigbee device to attempt pairing, so leaving it on permanently is convenient for nobody except someone trying to join without your knowledge. Use the hub's standard secure join and skip the insecure shortcuts suggested in old forum posts.
Rename each plug by room and load so an unfamiliar entry in the hub's device list stands out immediately. If you're adding schedules next, the guide to setting a smart plug timer covers the automation side once the join is secure.
Match the Plug to the Load
Read the rating printed for Canadian voltage and current, then match it to the appliance nameplate. Respect both the resistive load and motor load specifications, because a fan, pump, or compressor doesn't draw power the way a lamp does. Skip a consumer smart plug entirely for a space heater or other high-wattage load unless the manufacturer expressly rates that plug for that duty.
A plug that survived a weekend test proves nothing about a heater's continuous draw.
Finish with three tests that pairing alone doesn't prove. Test power-loss recovery by unplugging the plug and confirming it restores to on, off, or last state exactly as you set it. Test the manual override at the plug itself so a dead app or an offline hub never leaves a load stuck on. Then confirm the off state from the app and from an automation, since a heater, iron, or block heater circuit that fails to turn off is a different class of problem than a lamp that stays lit.
Placing Plugs and Fixing Failures
Your plug pairs on Saturday afternoon, works through the evening, and shows offline by Sunday night. That symptom usually points to a weak mesh route, not a dead plug. The comparison below shows how quickly a healthy-looking join can turn into a dropout when the final outlet gives the plug a poor path home.
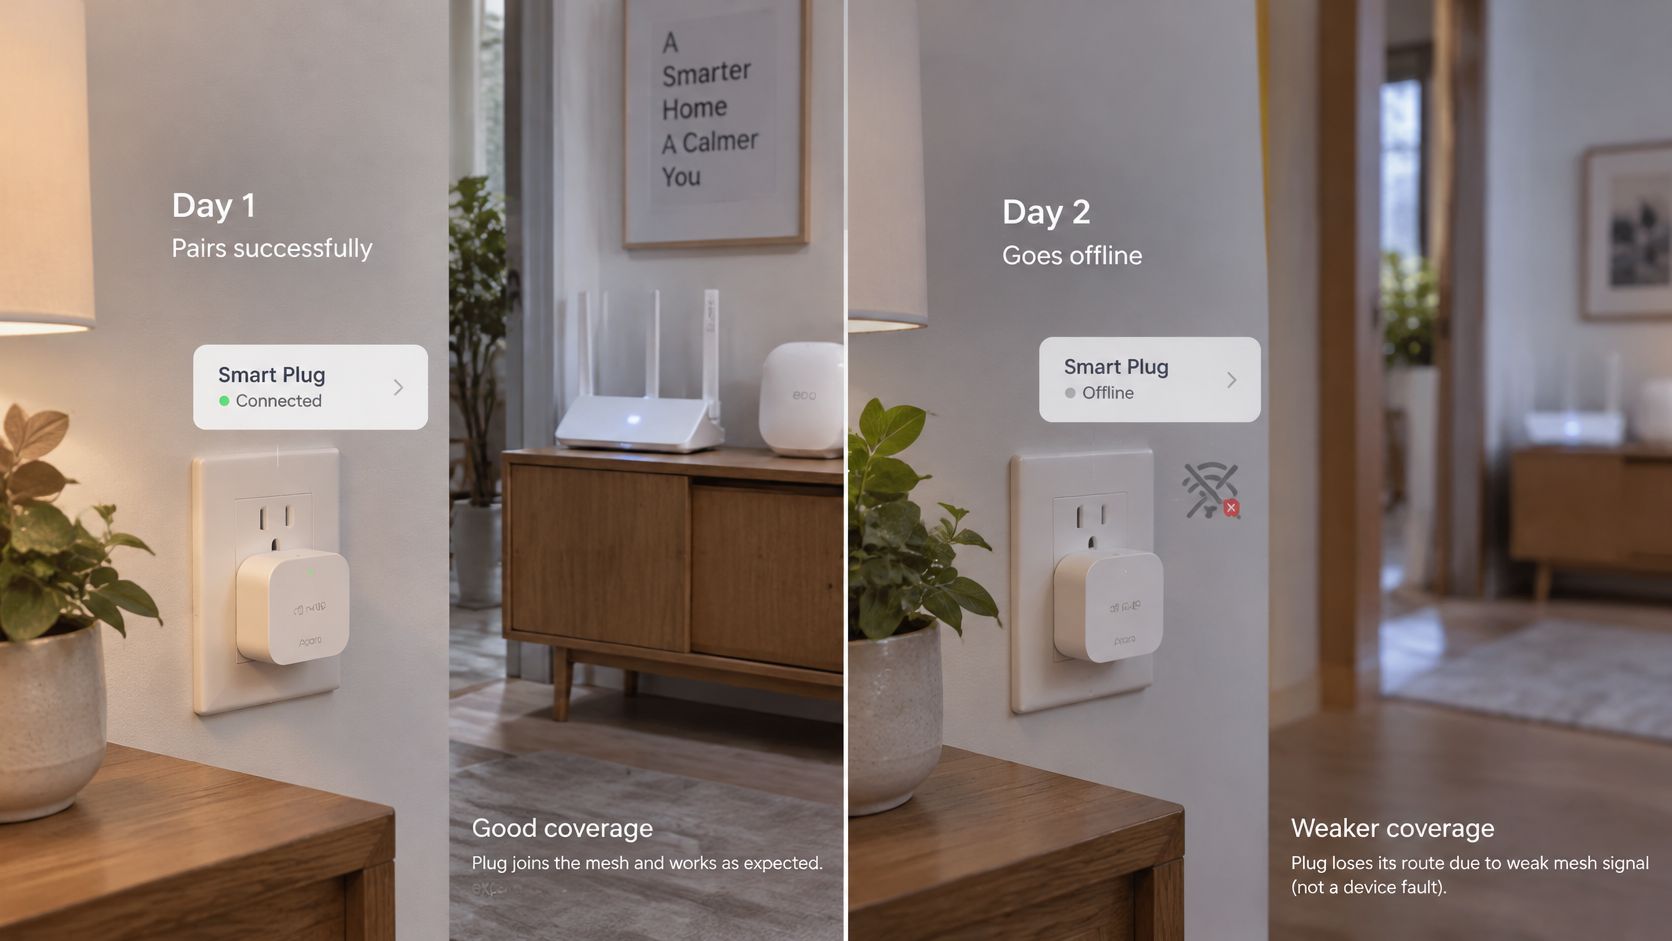
Start with the symptom you have, fix the likely cause first, and change one thing at a time.
Zigbee plug symptoms, causes and fixes
| Symptom | Likely cause | Fix |
|---|---|---|
| Plug does not appear during Add Device | Plug not in pairing mode or too far from hub | Factory reset the plug, move it 1 to 3 m from the hub, retry |
| Plug joins, then drops offline within a day | Weak route or interference from Wi-Fi | Move the plug in stages, test a closer mains-powered device, move the hub away from the router |
| Commands take several seconds | Congested 2.4 GHz band or overloaded mesh | Relocate the coordinator, remove unused automations, wait for mesh to settle |
| Plug turns on after a power outage | Power-on state set to on or last state | Set the power-on state in the app to match intent and retest after a short outage |
| Old plug stays listed after reset | Stale device record on the hub | Remove it from the hub list before re-pairing |
| All plugs fail after hub reset | Hub network was not backed up | Restore a backup if available, or re-pair plugs one at a time, nearest first |
Why Placement Beats Repeated Resets
The Homey Zigbee troubleshooting guide notes that Zigbee operates in the crowded 2.4 GHz band and can be affected by Wi-Fi, Bluetooth, thick walls, metal appliances, and enclosed cabinets, while plugs can act as routers that extend the mesh. Placement immediately beside a Wi-Fi router can worsen interference. A plug behind a refrigerator, inside a metal cabinet, or tucked beside a router may join on a lucky path and then lose it when the fridge cycles, a door closes, or evening Wi-Fi traffic rises.
Canadian layouts add their own obstacles. Concrete firewalls in condos cut signal between units and across some interior walls. Basement mechanical rooms put furnaces, ducting, and electrical panels between the hub and the load. Seasonal moves matter too, since a plug that worked for a fan in July may end up behind a space heater setup or holiday storage in January.
Use a staged move instead of one leap. Pair near the hub, wait several minutes for the mesh to settle, then move the plug partway and test control from the hub. Move it again only if every command lands promptly. Adding more plugs isn't automatically better, and a poorly placed router plug can offer a weak route that other devices keep trying to use. Add a mains-powered router device only where testing shows a real gap.
A failed pairing at the final outlet is information, not a verdict on the plug. Prove the join beside the hub first, then judge the location.
Two Cases the Table Can't Fully Explain
Lagging commands need patience and subtraction. Move the coordinator off the router, ideally with some physical separation and a clear line into the room rather than a spot inside a media cabinet. Remove unused automations that poll or toggle the plug, then give the mesh time to settle before you judge the result. Celmin names the trade-offs of products it covers, such as noisy robot vacuums, smart plugs that need a patient router, and air fryers that take up counter space, and that patience applies here too. Constant resets keep the network from ever settling.
Hub replacement is the other slow job. Back up the network where your platform allows it, remove stale records, and re-pair nearest devices first so the mesh has strong early routes. Don't start with the farthest bedroom plug and wonder why the join struggles.
The short walkthrough below is useful if you want to watch a coordinator join before you retry your own.
An Internet outage shouldn't stop local Zigbee control through a local hub, but cloud-linked voice commands will stop until the connection returns. Test that distinction before you blame the plug during an outage. Finish with a ten-toggle test, five commands from the app and five from an automation, and note any failure or delay. One missed command in ten at the final outlet means the route still needs work.
Pick the Right Plug for Your Canadian Hub
Bundles look tempting, and the per-plug math can be good. Best Buy Canada listed an EHYBFXHG four-pack of 20A Zigbee smart plugs at CAD $119.99 in 2026, with a stated saving of CAD $51. A saving on four plugs that won't pair with your hub isn't a saving. It's four returns.
If you haven't settled on the hub itself, our smart home hub comparison is the place to sort that out before you stock up on accessories. Celmin's Smart Home Starter quiz helps new smart home users find which devices to start with, and Celmin's WiFi Coverage Calculator works out how many access points a home needs for full coverage. Both help you fix the foundation before you blame endpoints for foundation problems.
The Pre-Purchase Checklist
- Canadian electrical fit: Confirm the plug is rated for a Canadian 120 V supply and your appliance's current draw, with a North American plug format.
- Radio certification: Check ISED radio certification for Canadian-market hardware instead of importing a regional variant with the wrong paperwork.
- Hub-dependent features: Check whether energy monitoring, HomeKit, or voice control needs a brand hub, as the Aqara example shows.
- Return policy: Confirm the retailer's return window in case the plug joins but won't report properly on your platform.
- Actual count: Count the lamps, fans, and small appliances you'll really automate before a four-pack talks you into inventing uses.
I would buy one plug first. Pair it close to the coordinator, move it in stages to the hardest outlet you plan to use, and run it through a full day plus one real automation. Check the morning after, not just the first hour. If it toggles cleanly, recovers from a power cycle the way you set it, and reports state accurately, buy the rest of the set with confidence.
That single-plug trial costs you a few days. Skipping it can cost you a drawer of plugs that work on a hub you don't own.
Start with one compatible plug, prove it on your own hub and at your hardest outlet, then build the mesh out from a setup you know works. Celmin publishes Canadian smart home guides with CAD pricing, local availability, and plain trade-offs so you can choose hubs, plugs, and automations that fit your home the first time. Visit Celmin to compare your next device before you buy a multipack.
Sign up or sign in to join the conversation.