
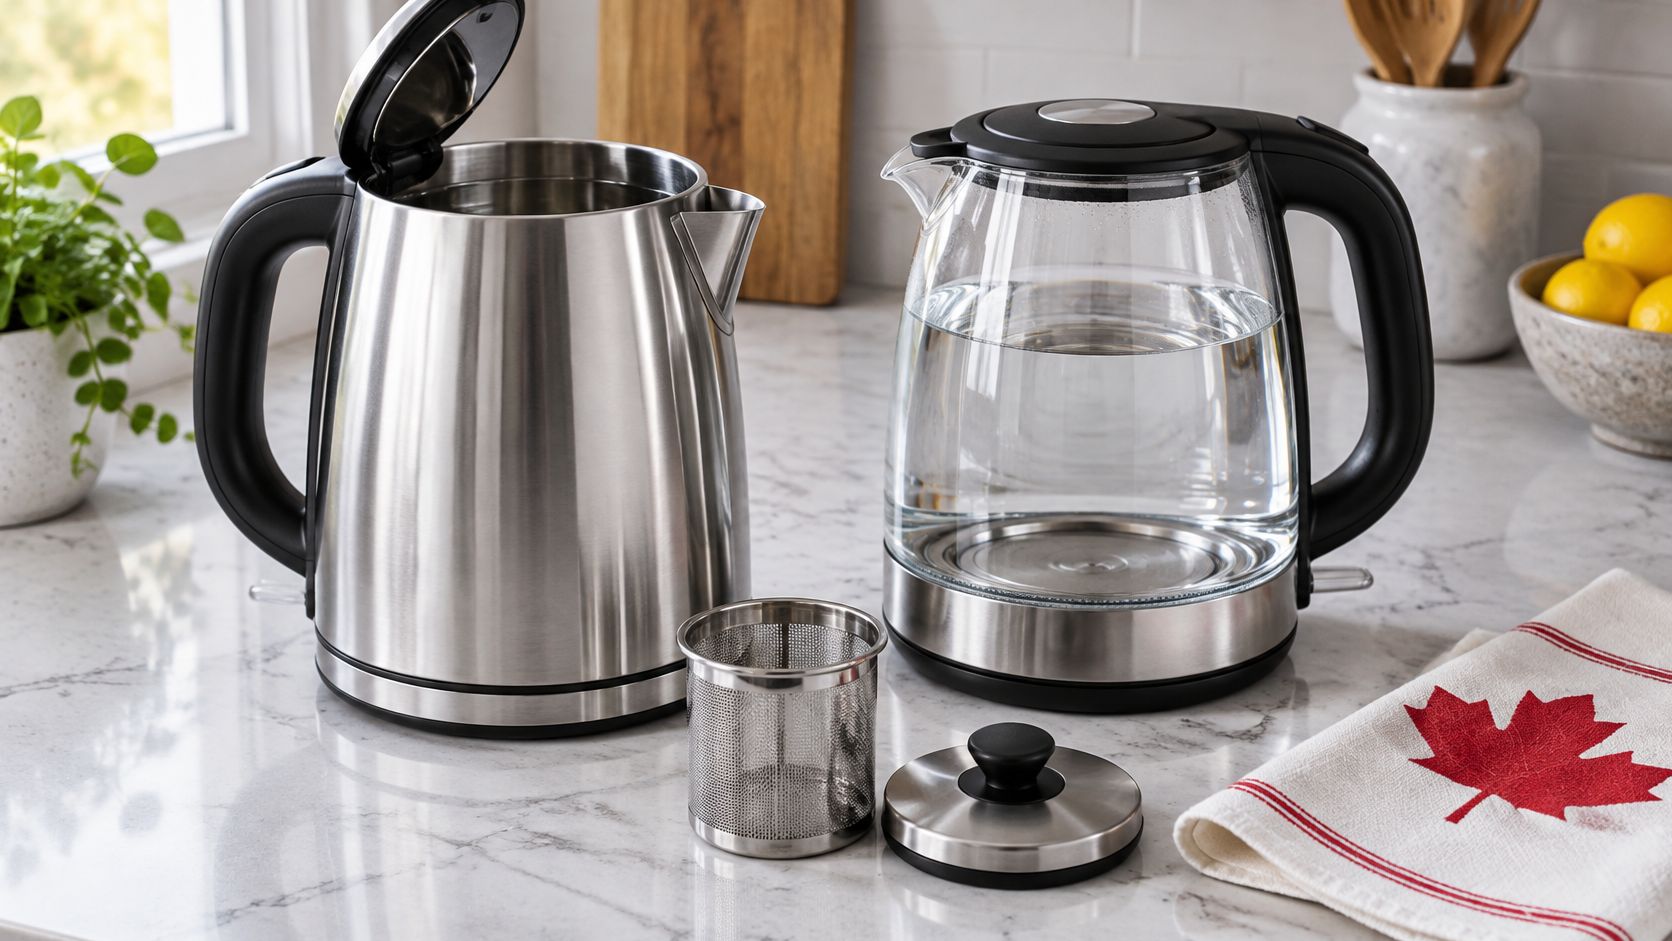
Buying a stainless-steel kettle isn't enough to keep plastic out of your hot water. A shiny metal exterior can hide a plastic lid liner, filter or water-level window, so the popular advice to choose steel alone skips the parts that matter.
If you're searching for electric kettle no plastic, start with the manufacturer's parts list, not the product photograph. For Canadian shoppers, a useful comparison also checks electrical certification, cleaning access and local disposal options before treating any model as a good buy.
Table of Contents
- What No Plastic Really Means for Your Kettle
- Which Kettle Parts Touch Your Water
- Stainless Steel, Glass and Ceramic Compared
- Safety and Taste Checks Before You Buy
- How to Descale and Care for Your Kettle
- Choose and Buy a Plastic-Free Kettle in Canada
What No Plastic Really Means for Your Kettle
A no-plastic electric kettle should keep plastic out of the water-contact pathway, including the chamber, lid underside, window, filter and spout. It doesn't necessarily mean the entire appliance contains no plastic.
Think of a steel water bottle with a plastic cap. The bottle's body is metal, but the cap can still touch the drink when you tip it. A kettle deserves the same scrutiny, especially where steam condenses and drips back into the chamber.
The distinction is easier to understand when you separate the visible body from the internal surfaces.
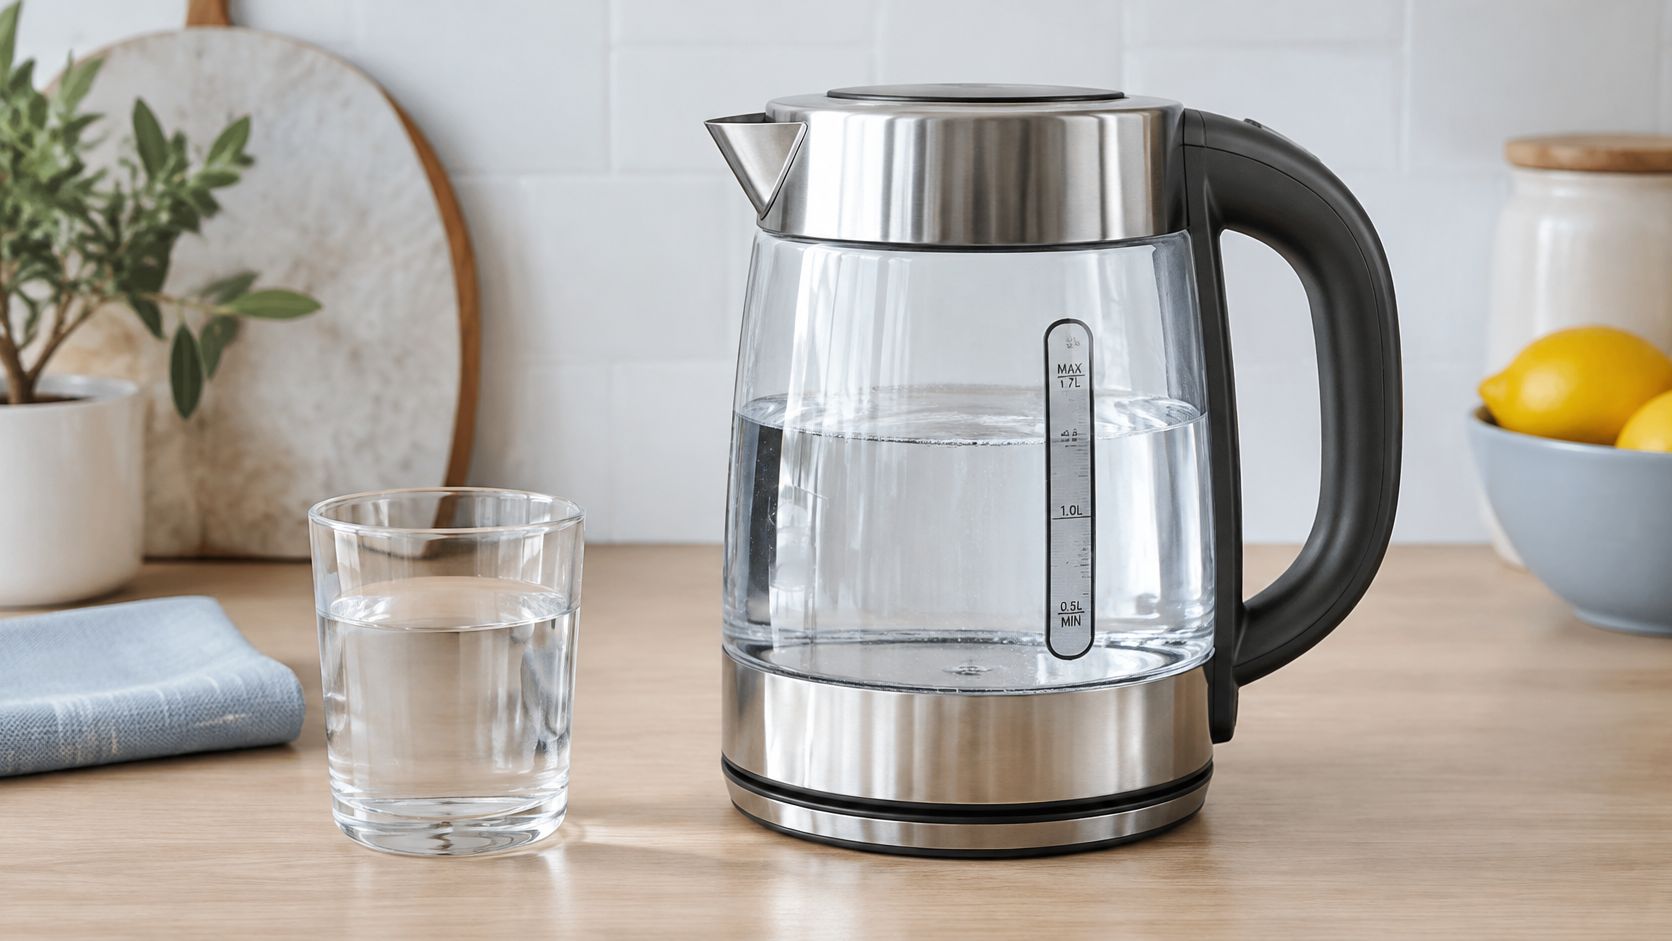
A product-level claim needs product-level evidence
The broader waste problem is substantial: Statistics Canada reported that Canadians discarded 5,152 kilotonnes of plastic in 2022, up 2.9% from 2021. Those figures cover plastic discarded across the economy, not kettles specifically, so they can't establish how much waste a kettle replacement would prevent.
For an individual appliance, use a practical test:
- Identify contact surfaces. Include components exposed to steam and water during pouring, not just the tank.
- Name each material. A description such as metal construction is less useful than a component-by-component declaration.
- Check the documentation. Look for a manual, labelled diagram or written manufacturer response that applies to the exact model.
For broader kitchen shopping, a guide to PFAS-free Canadian kitchen choices can help separate another material claim from the evidence needed to support it. Plastic-free and PFAS-free aren't interchangeable descriptions.
The defensible claim is minimal plastic in the hot-water path, unless every wetted component is documented.
Which Kettle Parts Touch Your Water
Use this component table to distinguish the surfaces that affect the water-contact claim from the exterior parts that don't.
Kettle components and their plastic-free target
| Part | Touches water? | Common material | Plastic-free target |
|---|---|---|---|
| Water tank or chamber | Yes | Stainless steel, glass or plastic | Stainless steel or glass |
| Lid underside | Yes, via steam and condensate | Stainless steel or plastic | Stainless steel |
| Water-level window | Yes | Glass or plastic | Glass, or no window |
| Lid gasket or seal | Yes, hot steam contact | Silicone or rubber | Declared; expect polymer |
| Spout | Yes | Stainless steel or plastic | Stainless steel |
| Removable filter | Yes | Stainless mesh or plastic | Stainless mesh |
| Handle and outer shell | No, during intended use | Plastic or stainless steel | Not required |
| Base and heating assembly | Electrical base doesn't; chamber floor does | Metal with plastic housing | Document chamber floor; inspect cord and base |
The heating assembly needs careful wording. A cordless kettle's electrical base sits outside the water chamber, but the metal floor above its concealed element contacts water directly. Don't exclude that floor from a materials declaration merely because a listing calls it the heating plate.
Health Canada's cookware guidance explains that substance transfer depends on the material, the food and the conditions of use, and identifies higher temperatures as a factor that can increase transfer from plastics. That supports checking material suitability under actual use conditions, not assuming that every plastic component presents the same exposure or risk.
The lid, window and gasket deserve extra attention
A steel lid can have a plastic underside. Ask for a photograph showing the lid open, including its rim and any steam-channel components. Similarly, a transparent window isn't necessarily glass, and a glass window may still have a polymer seal around its edge.
Silicone is a disclosure issue, not a detail to hide. It's a polymer, although manufacturers often distinguish it from conventional plastics in their descriptions. If your requirement excludes silicone too, say so explicitly when asking about the seal.
A model with a metal chamber and a silicone gasket may suit someone seeking minimal plastic contact. It doesn't meet an all-metal-and-glass requirement if that gasket receives steam or condensate.
How to get a useful answer
Request the manual or parts diagram before buying. Wording such as all stainless-steel interior or glass water chamber is a starting point, but follow up about components not named in that statement.
You can send this question to the manufacturer:
Please identify the material of the chamber floor, lid underside, window, gasket, filter and spout, including any exposed sealant or adhesive.
Finally, BPA-free doesn't mean plastic-free. It addresses a chemical designation, not whether the appliance contains plastic, and it doesn't identify every other additive or material in the product.
Stainless Steel, Glass and Ceramic Compared
| Material | Strengths | Trade-offs | Best for |
|---|---|---|---|
| Stainless steel interior | Durable, generally odour-neutral; tank can avoid exposed plastic | Opaque chamber makes inspection less convenient; body can dull or mark; weight depends on construction | Families, frequent use and buyers who prioritise durability |
| Borosilicate glass | Visible water level and scale; easy visual inspection; generally neutral taste | Can crack from impact or severe temperature changes; shows mineral staining; can feel heavy when full | Tea drinkers who want to inspect the water chamber |
| Ceramic-coated or ceramic-lined | Smooth surface; generally neutral taste when intact | Coating can chip; construction and coating quality need verification; fewer suitable options | Buyers willing to inspect a niche design carefully |
| Steel body with glass window | Steel body with a visible water level | Window seal may be polymer and needs checking | A compromise for compact kitchens |
These differences are most useful when you compare cleaning and handling, rather than appearance alone.
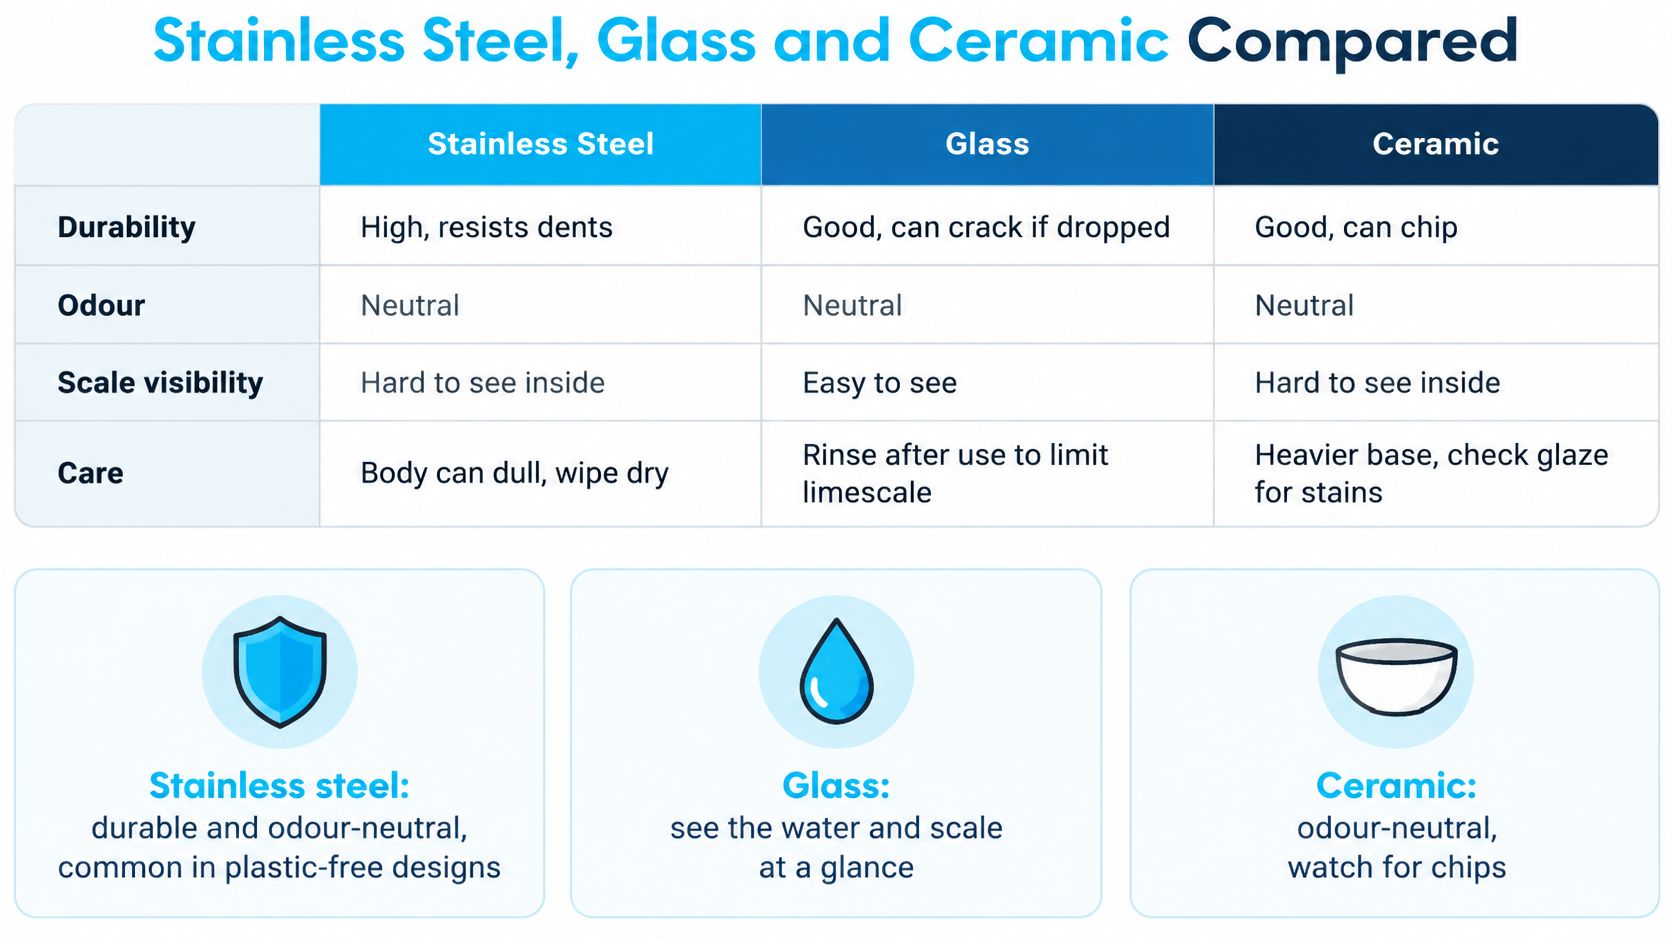
Stainless steel suits busy kitchens
Stainless steel is a sensible choice when the kettle gets moved around a crowded counter or used throughout the day. It won't shatter like glass, although it can dent, scratch or develop surface marks.
The main inspection trade-off is visibility. You'll need to open the lid and look inside to check the chamber floor and seams for deposits. A wide opening makes that task much easier than a narrow neck.
Don't assume steel means lightweight, either. Double-wall construction, insulation and a substantial handle can change how a kettle feels when you lift it.
Glass makes maintenance easier to judge
A clear chamber lets you see the fill level and mineral deposits without opening the lid. That's useful if you tend to forget cleaning until flakes appear in the cup.
Borosilicate glass still needs careful handling. Avoid knocks against taps, placing a hot kettle on a cold wet surface, or adding cold water to an overheated, empty chamber. Boil-dry protection isn't permission to run the kettle empty.
Lift a display model if possible, or check its empty weight before ordering. Material alone doesn't determine handling comfort; the handle angle and balance matter once water is added.
Ceramic and hybrid designs need closer inspection
Ceramic appearance doesn't establish ceramic construction. A kettle may have a ceramic coating, a lined chamber or a decorative exterior over another material, so ask what's beneath the visible surface and how damage should be handled.
For a steel-and-glass hybrid:
- Advantage: You can check the level without giving up a mostly metal body.
- Compromise: The window adds a joint and seal that need documentation and cleaning access.
For a home where scale builds up noticeably:
- Favour visibility if seeing deposits will help you maintain a cleaning routine.
- Favour access and durability if you prefer steel, but choose an opening that allows easy inspection.
Match capacity to your usual task rather than assuming bigger is better. A compact kettle can suit a condo counter, while a larger chamber may be more convenient when several people want hot drinks together.
Safety and Taste Checks Before You Buy
Plastic-free is a materials choice, not proof of electrical safety. A kettle can have a well-documented interior and still be unsuitable if its electrical certification, cord or shutoff system is questionable.
Health Canada's electrical-product guidance advises looking for a recognized certification mark such as CSA, cUL or cETL, and unplugging heat-producing appliances, including kettles, when they're not in use. Look for the mark on the appliance label rather than relying solely on a retailer's promotional description.
Use the checklist as a purchase screen, then confirm the details in the exact model's manual.
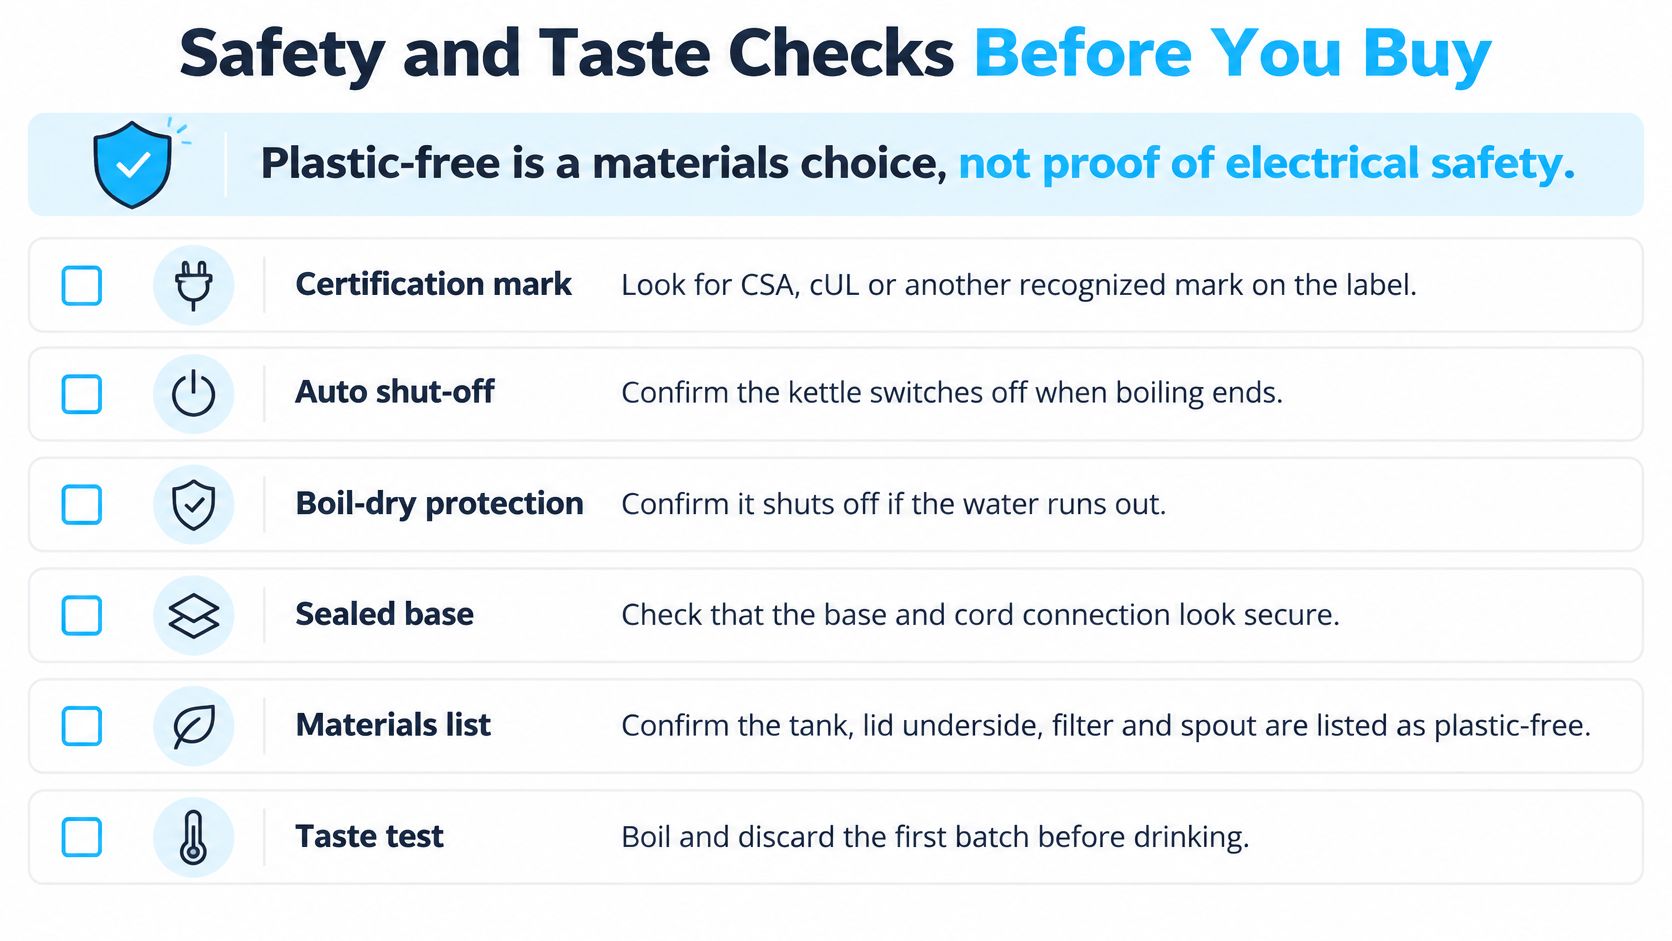
Check the appliance, not just its feature list
Inspect the cord where it enters the base, the connector underneath the kettle and the lid hinge. Loose fittings, damaged insulation or signs of overheating are reasons to stop using an appliance, not issues to work around.
Prioritise these features:
- Automatic shutoff: Confirm that the kettle switches off at the intended endpoint with the lid correctly closed.
- Boil-dry protection: Check the manual for protection against operation with insufficient water and its reset instructions.
- Secure lid: It should close properly and stay in position while pouring, without requiring you to hold it shut.
- Stable, dry base: The kettle should seat securely, with its cord routed away from the sink and counter edge.
A metal body can conduct electricity if an electrical fault occurs. Never immerse the kettle or base, and don't rinse the connector under a tap. Steam and hot exterior surfaces also remain burn hazards regardless of the chamber material.
In a small condo kitchen, choose a position where you can fill, lift and pour without stretching across the sink or trapping steam beneath a cabinet. A tidy appliance footprint isn't useful if it forces an awkward pour.
Separate taste checks from safety claims
Follow the manufacturer's first-use cleaning instructions. Boil fresh water, discard it, and check the next batch for an unexpected chemical or metallic odour before using it for tea.
If the smell persists after the prescribed cleaning procedure, contact the seller or manufacturer while the return window remains open. Don't mask it with tea or assume repeated boiling will solve an unexplained problem.
Taste isn't a safety test. Water that smells neutral doesn't prove an absence of migration, and an unusual smell doesn't identify its cause.
For brewing features, a kettle-for-tea buying guide can help you assess temperature controls and pouring design. Those conveniences belong alongside certification and materials documentation, not in place of them.
How to Descale and Care for Your Kettle
Every kettle accumulates mineral scale, whatever its chamber is made of. Protect the water-contact surfaces with gentle descaling, thorough rinsing and regular inspection: a soft cloth, a non-abrasive sponge and a manufacturer-approved descaler will do more for a steel or glass interior than steel wool or a stiff scraper ever could.
Scale works like a film of paint over the heating surface. It hides the metal or glass you need to inspect, slows heating and tempts you into scraping harder than the finish can tolerate. The visual routine below uses vinegar, but your model's manual should set the permitted solution, the dilution, the descaling fill level and whether heating the cleaner is allowed.
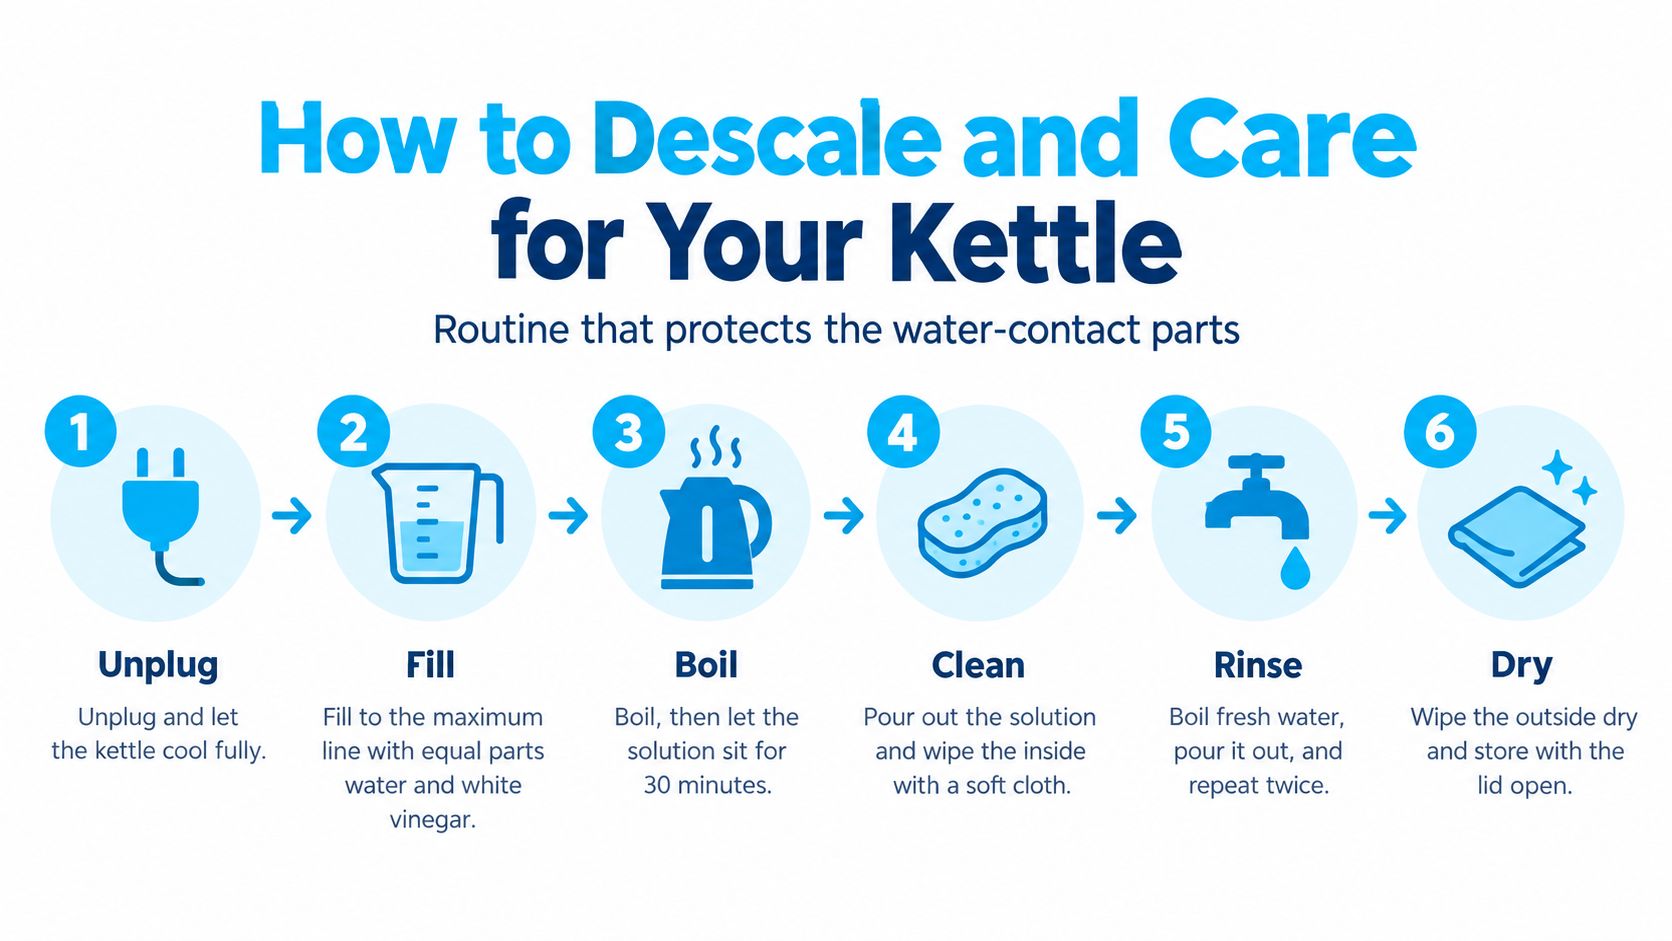
A careful cleaning routine
- Unplug and cool the kettle. Move it away from the electrical base before adding any cleaner so spills can't reach the connector.
- Prepare an approved solution. Use white vinegar or citric acid only if the manual permits it, at the specified dilution and descaling fill level.
- Heat or soak as directed. An acidic cleaner isn't guaranteed to behave like plain water, so don't automatically boil it or fill to the normal maximum line.
- Empty and rinse thoroughly. Run the prescribed fresh-water cleaning cycle and discard that water before preparing a drink.
- Clean accessible details gently. Wipe the lid underside, window and gasket with a soft cloth, and remove the filter only as the manual describes.
- Inspect the seals and chamber. Look for cracks, stiffness, loose fittings or coating damage instead of scrubbing harder at a surface you can't identify.
- Dry before reconnecting. Keep the underside connector and base dry, and store the cord without tight bends or strain.
If one treatment leaves deposits behind, repeat the approved solution at the same strength rather than improvising a stronger mix. A second gentle cycle costs you a few minutes; a scratched chamber is permanent.
The video below shows the technique in action. Check each step against your appliance's instructions before following it.
Repair and disposal belong in the buying decision
Retire a kettle with cracked glass, a damaged cord or a lid that no longer closes properly. If a gasket fails, ask the manufacturer whether it supplies an exact replacement; improvised seals and household adhesives have no place in a hot-water chamber.
A steel body doesn't make disposal simple. Inside that shell sit wiring, a heating element, a connector and often a plastic base, and the Office of Consumer Affairs' responsible-disposal guidance warns against treating e-waste as ordinary garbage because electrical products can contain hazardous substances.
Acceptance rules for kettles vary by municipality, and small-appliance collection arrangements change over time. Confirm the current rules with your local waste authority before dropping one off.
Search your municipality's waste directory for kettles or small appliances, and check whether the base and cord should go with the unit. Treat the decision like reading a parts list: the steel shell you can see is not the whole product, and that shell alone doesn't earn the kettle a place in household recycling.
Choose and Buy a Plastic-Free Kettle in Canada
Plastic-free electric kettle candidates and Canadian listing prices
| Model | Material and capacity | Price in CAD | Where to check |
|---|---|---|---|
| Hamilton Beach Compact Electric Kettle | Glass, 1 L | $49.99, listed in 2026 | Best Buy Canada's compact-kettle listings |
| STARFRIT electric kettle | Stainless steel, 1.7 L | $53.97, listed in 2026 | Best Buy Canada's stainless-steel kettle listings |
These are shopping candidates, not confirmed all-metal-and-glass water paths. The listings establish a material description, capacity and price reference, but they don't document every gasket, lid component or filter.
Don't choose between them on price alone. An inexpensive model with an unanswered materials question isn't a verified match, and a higher price doesn't fill that documentation gap either.
Compare what ownership will involve
Check Amazon.ca and local appliance retailers as well as Best Buy Canada, but identify the actual seller. A marketplace listing can have different return arrangements, warranty support and shipping origins from a retailer's own inventory.
For cross-border orders, confirm potential duties, delivery timing and Canadian warranty coverage before paying. If you're buying ahead of colder weather or holiday hosting, check stock early rather than assuming the model you want will appear in a sale.
Also ask whether replacement filters, lids and seals are available. A readily replaceable part can matter more over the appliance's life than a small difference in purchase price.
Make the final choice in a useful order
- Get the manufacturer's documentation. Match the model identifier on the listing to the manual and request clarification about any unnamed water-contact component.
- Verify the Canadian electrical label. Ask for a clear label photograph if the certification mark isn't visible, and reject vague assurances that the appliance meets international standards.
- Choose a shape you can use comfortably. For a compact kitchen, check the base footprint, lid-opening clearance and room needed to pour. For shared use, make sure the filled kettle remains comfortable to lift.
- Review the full purchase terms. Confirm the checkout price, stock, return procedure, warranty provider and who pays return shipping if the description proves inaccurate.
- Keep a record of the claim. Save the manual and manufacturer's written response so you can compare them with the delivered appliance before using it.
If you're considering a narrow-spout design, a gooseneck electric kettle explainer can help you decide whether controlled pouring suits your routine. Don't buy that shape merely because it looks specialised; it should make your usual brewing task easier.
The strongest buying verdict is specific: the manufacturer documents metal or glass throughout the water-contact pathway, or clearly identifies the remaining polymers so you can decide whether they meet your preference. Choose the appliance whose construction you can verify, not the one with the most confident plastic-free label.
Celmin offers Canadian appliance reviews, practical buying guides and CAD-priced comparisons to help you build a useful kettle shortlist. Compare the models that suit your kitchen, then take the exact model numbers to the manufacturer and confirm the water-contact parts before you buy.
Sign up or sign in to join the conversation.